The first thing I did was to determine how to even go about building one of these things. I spent a couple months doing research on the Internet for anything related to home-built foundries, from charcoal fired to propane to oil. A favorite resource is backyardmetalcasting.com where I read alot! It’s sister site is the forum at Alloy Avenue. If you want to learn about anything related to metal casting, start there and just read. Another reference is the Gingery series of books, specifically The Charcoal Foundry and Gas Fired Crucible Furnace.
Next I had to figure out a design. I settled on a design similar to what I’d seen on the internet – a one piece body with a rotating lid. Next stage of the build was getting the components together, but what to do about the body? I had thought about using a 55-gallon drum and even went so far as to ask my father-in-law if I could have one of his. I changed my mind after figuring that I’d rather start on a smaller design. Good thing too, because this first one was a bear! It was fortuitous though, my father-in-law also had a 35-gallon drum, but he had to dig it of where he had it stored. After a couple of weeks we went back to Phoenix and brought the trailer – we brought the drum and alot of other stuff back with us, including aluminum that he figured I could melt down.
I had been buying metal in different form and lengths from Gerson’s (a home dismantler here in Tucson), along with the pieces I’ve brought down from my father-in-law’s ‘store’ 🙂 . That gave me a start on the steel I would need, but I still ended up needing steel tubing in different sizes, including 1″, 1.5″, and 2″ in different thicknesses. Along with that I used 1″ and 1.5″ angle iron as well as 1/4″, 1/2″, and 3/4″ flat rod as well as various round rod. Nothing left to do but start making the damn thing.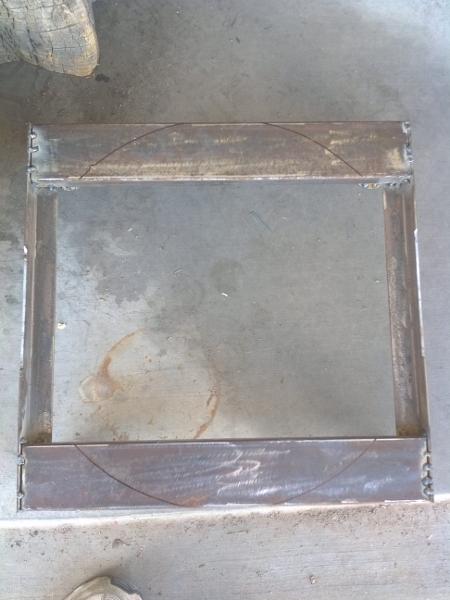
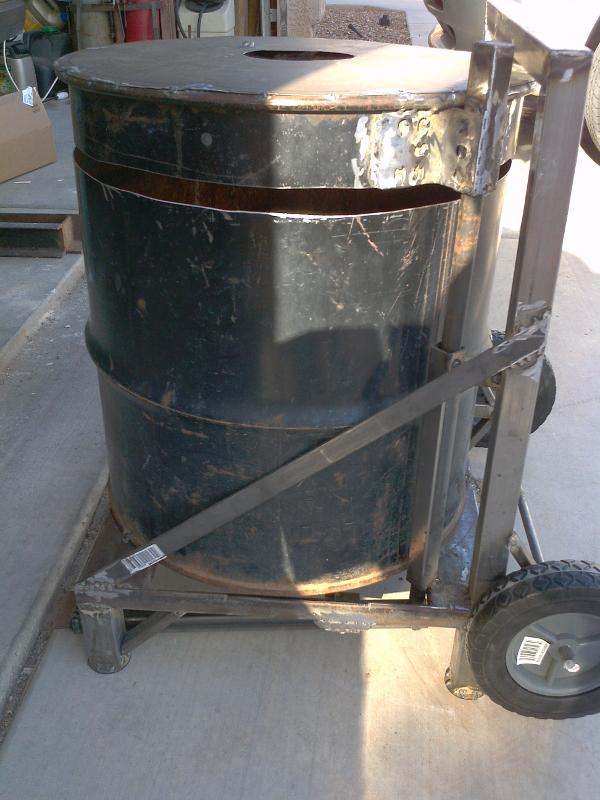
I started by measuring the base of the drum and then figuring out what the base should be. Once that was figured out I made a frame from 1″x3″ tube and angle iron, along with feet made of 1.5″ square tube with 2″ washers on the bottom so it wouldn’t sink into the dirt. The main up tubes are 1.25″ with some 1″ straps going from the back upper loop to the front of the bottom frame to provide support during lifting and tilt-back of the foundry.
From there the project just rolled along. I welded in a cross tube in the loop across the top and then added some ang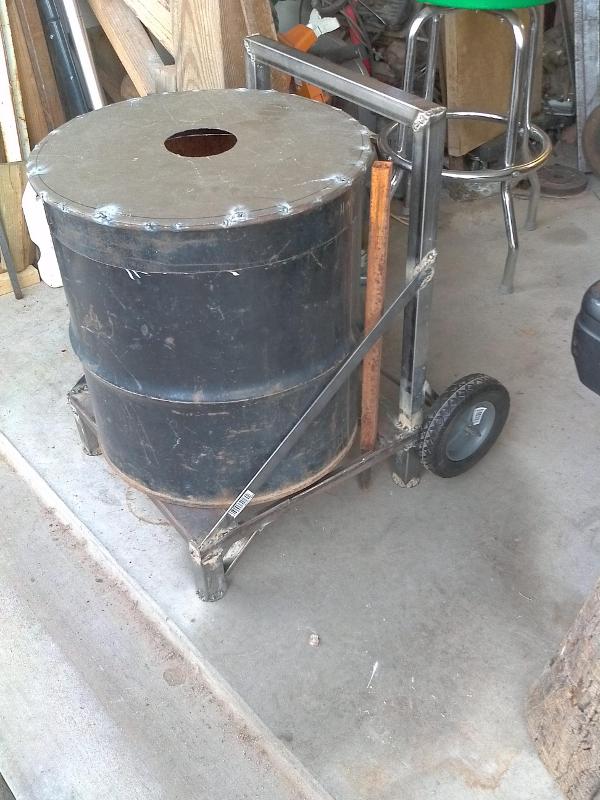 le brackets so I could make attach a proper handle that I could use to pull it around. Next was the lift mechanism, which is a 3/4″ square tube welded in a couple spots to one of the loop uprights and a solid bar running from the lid through the tube and down to the actual life mechanism in the base. The foot lever is a 1″ square tube with a 3/8″ solid shaft as a pivot and the same shaft size for where the bar attaches to the tube. Pressing the foot lever causes the bar to lift and push the lid up, where I can lift up on the handle on the lid and move it to the open position. Easy peasy.
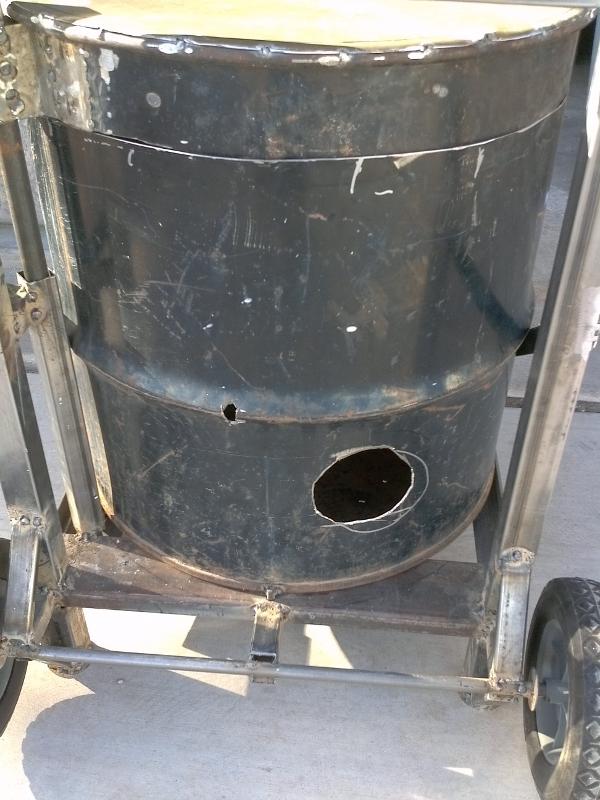
 Did you know that you can be practically surgical with a 4″ grinder and a thin cutoff wheel? I didn’t think so either, but with some careful measuring and marking, I was able to cut the 35 gallon drum into a more usable size. I even used it to cut out the hole for the burner tube, the drain at the bottom, and the access port on the top. I believe that at this point I’m an expert with the damn thing. After the cutting, it was time to weld in some little pieces, including the riser on the lid for the lift mechanism, the lid handle, drain, and the retaining rod framework in the lid. Finally, it was time for the main event.
I had started putting together the parts for the refractory, or the liner, for the foundry when I started welding together the parts together, or about a week and a half before. The reason being, in its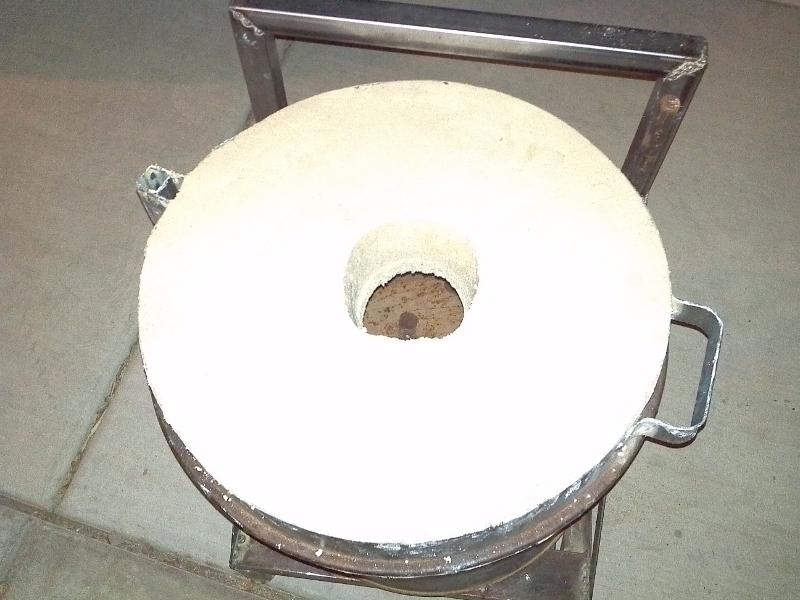 freshly mixed state, the components are not full set and wouldn’t work very well. More on that later. I could have purchased a purposed concrete refractory, but it would have been VERY expensive, about $100 a bag and I’d need about 4 bags. Ouch. I went the home-made route – it’s made up of the following: medium grade grog (ground fired fireclay), fireclay, silica sand, and borax. The ratio is 1 to 1 to 1 each of the grog/fireclay/sand to 19% by weight of the borax. Each batch of the refractory took almost 5 gallons of water, add
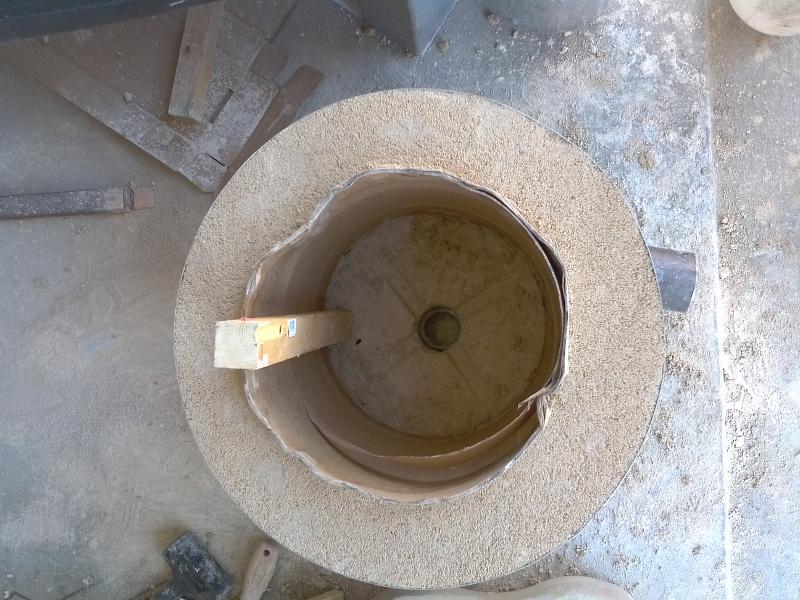 ed by standard garden sprayer and boy, did it get tough mixing this stuff! It got heavier and thicker, but not ‘wet’ like a normal concrete, more like a dry moist mix, just enough wetness to hold a handful of the refractory, squeezing and then snapping the lump cleanly. I ended up mixing two loads and after ramming up the lid and then about 2/3rds of the base I ran out so I made up a 3rd mix and let it cure for a few days. Even though the batches were completely separate they came out almost identically and I couldn’t tell the difference after I rammed it in the foundry.
I waited about a week for it to dry or cure and then bit the bullet. The way described in Gingery’s gas foundry book was to burn a big ol’ pile of charcoal in the parts of the foundry so I say, ‘What the heck?’ I bought a couple of big bags at WalMart and got to work. First, i put a grate under the lid, hot face (foundry) side up, put a ring of sheet metal around it to keep the mound of charcoal from falling off, and started up a small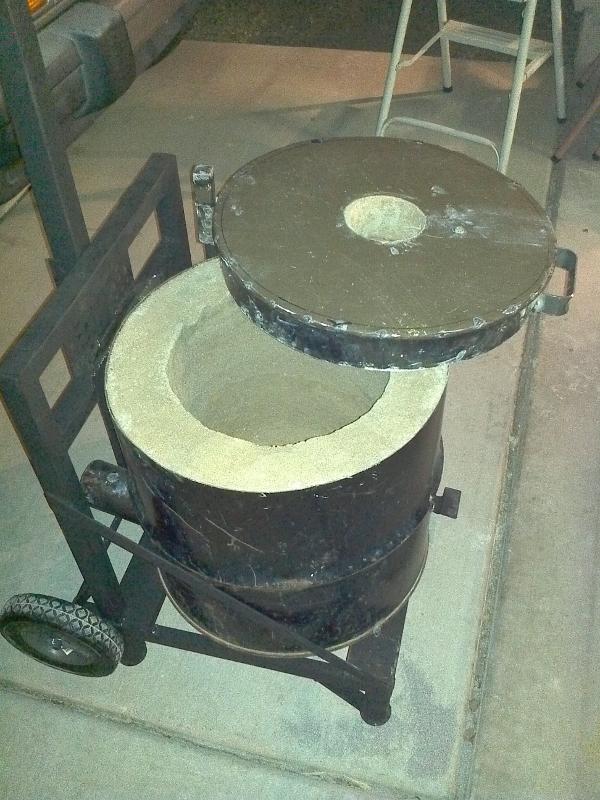 pile, waited for it start then put on a 6″ thick pile all around the lid and let it go. In the body I put a small layer in the bottom, lit it, and after it got going, filled up the bore of the foundry. At this point it was a tale of two cities – the lid just cooked along great to the point that it glowed and actually vitrified the lid. It was burning so hot that I was able to put the access port cover and plinth (the little block that lifts crucible up) on the fire to vitrify them. They were glowing red! The body, however, scared me at first. I thought that it wasn’t working, wasn’t doing anything and then I started seeing a white mist coming off of it – Steam! It must have steamed for over an hour! It was sweating out water out of every hole and crack. After a while I just left it and let it burn overnight. It was still smoldering the next morning :).
(So…it’s been while since I edited this… looks like it’s been over a year. I last touched this 15-JAN-2013!!! It’s 01-FEB-201
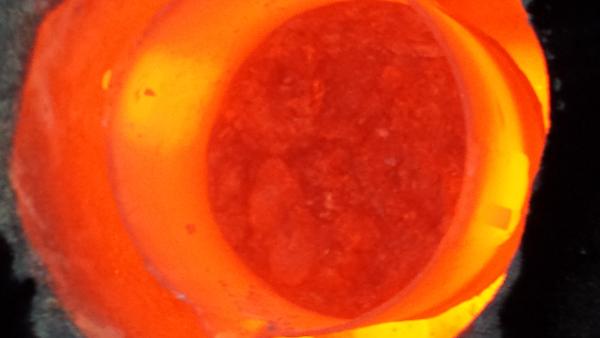
Looking into foundry while its running
4. Holy Cow!)
Ok, so let’s bring everyone up to date.
After the foundry burn-in I worked on the burner. I had nothing else left to do on the foundry itself, it was good to go. It’s sitting in the back yard, waiting to go. Since it’s been parked back there I’ve finished the burner and after working out the kinks, it’s melting away.